How to Migrate from OVH to Office 365?
-
 22 April 2020
  Migration
-
 Written by Editorial Team
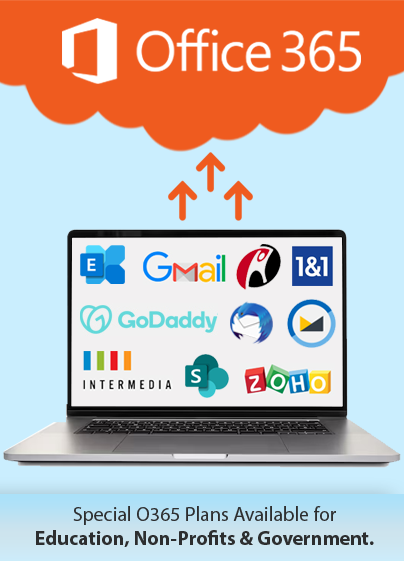
OVH is a worldwide technology company offering a range of solutions from web hosting services, dedicated servers, networks, and security solutions among other products. It also offers services to businesses, developers, and entrepreneurs to manage, scale, and secure their data assets. They employ their own servers and data centers along with fiber-optic networks to enforce data privacy.
With over 1.5 million users primarily in Europe and a more recent expansion in the United States, OVH is one of the thriving technology companies. Yet, when it comes to productivity suites, many organizations prefer to employ Office 365 solutions offered by Microsoft. Thanks to its extensive suite of productivity and security tools like Defender for Office 365, Power Automate and Teams, many users are looking to migrate to Office 365.
Here is a guide on how to migrate OVH mail servers to Office 365.
Prerequisites for OVH to Office 365 Migration
Before you can migrate from OVH, you will need tenants on Office 365 with their licenses. You will have to procure licenses for every account that is being migrated from OVH to Office 365. Thereafter, the domain must be configured in Office 365 before starting the rerouting of emails to the new accounts. This is to be done only after the migration is complete. Thus, you must make sure that you have factored in the requisite downtime needed to move the accounts to Office 365.
Step 1: Set Up OVH Accounts for Office 365 Migration
This step involves login to your existing OVH account and domains that need to be migrated. All the accounts need to be exported in the CSV file in an appropriate location.
Step 2: Import the Formatted CSV File into Office 365
In this step, the imported CSV file needs to be worked upon to display various options. Create another spreadsheet including all the options of the imported CSV file. Each of the accounts that had been exported will have to be added to the new sheet as separate records.
Step 3: Assign Passwords for Newly Created Mail Accounts
Once your separate records are created, you just need to assign passwords to every new account added in the spreadsheet.
Step 4: Change Passwords on OVH Mail Server
Now, here you need to navigate to the emails for which the passwords must be changed on the OVH portal. Create new passwords and save it for Office 365 for every account.
Step 5: Run the Migration Utility for OVH Cloud to Office 365 Migration
Type the OVH server details and port numbers along with the email ID and passwords before saving the details. You will notice the newly created Office 365 addresses against which the source email addresses and passwords, the ones from OVH will have to be entered. Once this is done, you can start the migration.
Step 6: Reroute Emails from OVH to Office 365
This is the final step for the migration. Now that you have all the emails from OVH in your Office 365 email accounts, you need to ensure that no new emails are being sent to the OVH mail IDs. This is done by changing the DNS settings by pointing the MX records to the Office 365 server. The DNS propagation could take a few hours of downtime after which all new mails will be redirected to Office 365.
Outsourcing OVH to Office 365 Migration to an Expert
While we have presented a detailed account of the steps involved in migration OVH to Office 365, you may have special requirements that cannot be taken care of with the standard migration method provided by Microsoft. This could include moving calendar items and contacts and ensuring that they are mapped to the correct accounts, or even migrating one tenant to another.
As a Microsoft Solutions Partner, Apps4Rent is committed in helping your organization to onboard to Office 365 from the OVH platform flawlessly. If you are looking for a reliable Office 365 migration service, feel free to connect with our experts 24/7 via phone, chat, and email. Submit your requirements or questions now!
Apps4Rent – Tier 1 Office 365 Cloud Solution Provider